HPC Resource Management System — User Guide
Introduction
Welcome to the Adamas University shared High Performance Computing (HPC) resource management system. This platform helps students and researchers request CPU and GPU resources through a web portal, get administrator approval, and then run compute jobs using simple wrapper scripts. You never need to interact with SLURM directly—everything is managed for you.
How the System Works — Architecture Overview
Below is a high-level architecture diagram of the system:

Component Summary
- React Frontend (NGINX in Docker): The web portal where users submit requests and admins approve them. The React app is served as static files by NGINX inside Docker.
- Node.js Backend (Host): Runs on the HPC host to execute privileged provisioning scripts
using
sudo. - MongoDB (Docker): Stores requests, approvals, and metadata.
- CI/CD (GitHub Actions): Builds and deploys the frontend, database configurations, and backend.
- Provisioning Scripts:
create_cpu_user.shandcreate_gpu_user.shcreate Linux accounts and prepare the user environment. - Wrapper Scripts:
~/bin/submit_cpu_job.shand~/bin/submit_gpu_job.shsubmit jobs to SLURM for you. - SLURM: Enforces CPU/GPU partitions and schedules jobs.
- XFS Quotas: Enforced on
/datato limit storage usage.
End-to-End Workflow
- You submit a resource request through the web portal.
- An administrator reviews your request and approves or rejects it.
- If approved, a Linux account is created and the correct wrapper script is added to your
~/bindirectory based on your request (CPU-only or GPU). - You receive credentials by email and connect via SSH (or VS Code Remote SSH).
- You use the wrapper script to run jobs; SLURM schedules and enforces resource limits.
Applying for Compute Resources
How to Access and Log In
- Open the web portal URL provided by Adamas University.
- Sign in using your university credentials.
- Go to New Request to open the resource request form.
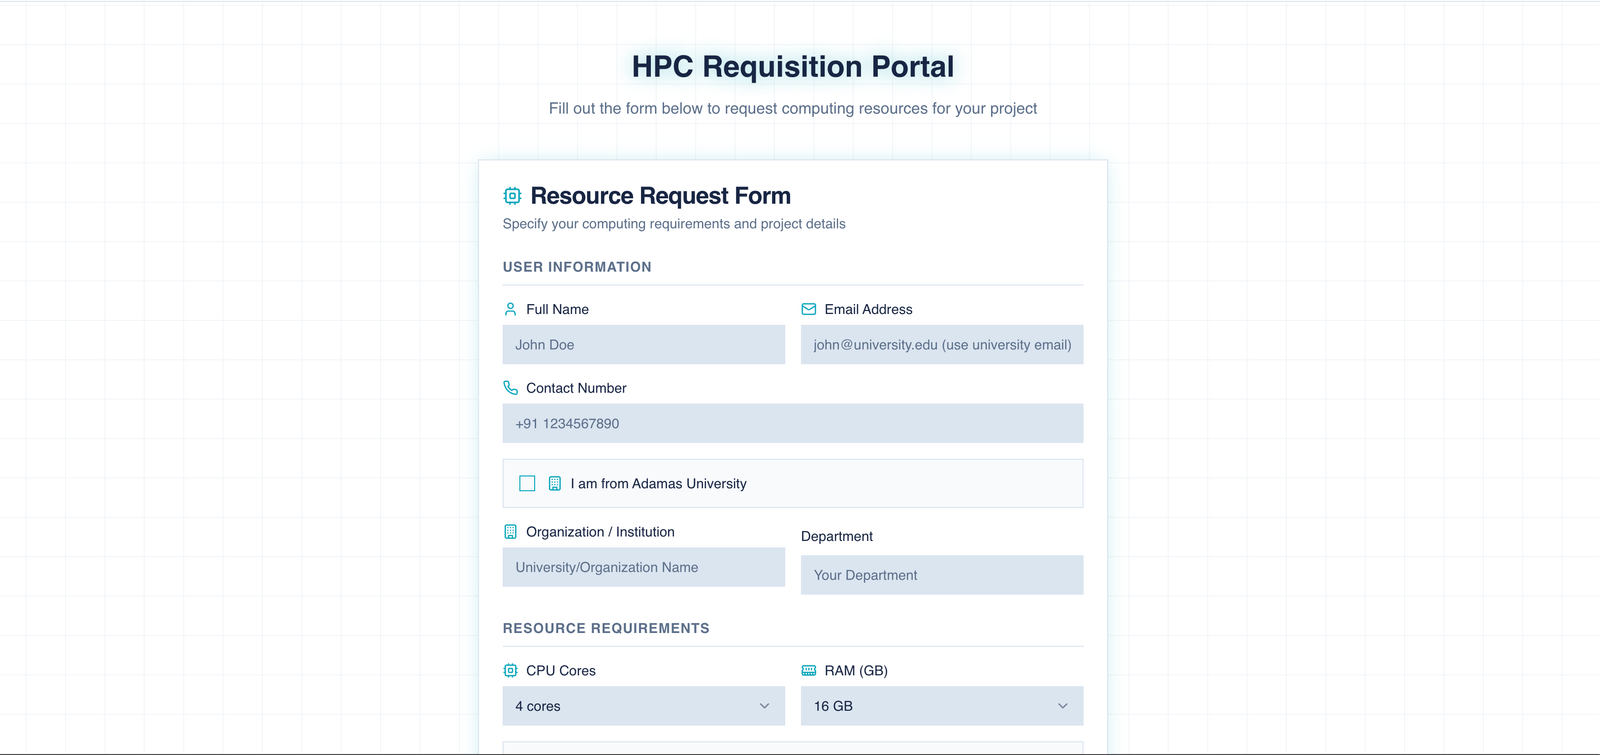
Request Form Fields (Step-by-Step)
Fill in the form carefully. These details are used for approval, scheduling, and creating your Linux account. Example fields are shown below.
-
Personal and academic details
- Enter your full name, institutional email, and department/lab.
- Use your official email because approval notifications and credentials will be sent there.
-
Project identification
- Add a short Project Title that you can recognize later.
- Provide a concise Project Summary describing what you will run and why HPC is needed.
-
Compute type (CPU or GPU)
- Choose GPU Required = Yes only if your work requires GPU acceleration.
- If you choose No, you will get a CPU-only environment and only the CPU job script.
-
Resource sizing
- Specify CPU cores and RAM required for your workload.
- If GPU is required, include the number of GPUs.
-
Schedule window
- Provide Estimated Start Date/Time and Estimated End Date/Time.
- This helps administrators plan availability and approve requests faster.
-
Review and submit
- Double-check all values for accuracy.
- Submit the form and wait for admin approval.
| Field | Description | Example |
|---|---|---|
| Full Name | Your legal name | Priya Sharma |
| Institutional email | priya@adamasuniversity.ac.in | |
| Department | Your department or lab | Bioinformatics |
| Project Title | Short project name | RNA-Seq Analysis |
| Project Summary | Brief description of work | Transcriptome analysis for cohort X |
| CPU Cores | Requested CPU cores | 16 |
| RAM (GB) | Requested memory | 64 |
| GPU Required | Yes/No | Yes |
| GPU Count | Number of GPUs (if required) | 1 |
| Estimated Start Date/Time | When you plan to begin | 2026-02-10 10:00 |
| Estimated End Date/Time | When you expect to finish | 2026-03-05 18:00 |
Approval Workflow
Admin Review
Administrators review requests in the admin panel. They can approve or reject based on resource availability and policy.
What Approval Means
-
Approved:
- Your Linux account is created automatically based on your request type.
- Your home directory contains the correct wrapper script:
- CPU-only users:
~/bin/submit_cpu_job.sh - GPU users:
~/bin/submit_gpu_job.sh
- CPU-only users:
- You receive an email with login credentials and instructions for SSH or VS Code Remote SSH.
-
Rejected:
- You receive a notification with the reason for rejection.
- You may edit and re-submit the request if allowed by policy.
Running Your Jobs
Accessing the HPC System
You can connect using:
- SSH terminal
- VS Code Remote SSH
Using Wrapper Scripts
The system provides one wrapper script in your ~/bin directory, depending on your approved
request:
- CPU-only users:
~/bin/submit_cpu_job.sh - GPU users:
~/bin/submit_gpu_job.sh
You do not need to use SLURM commands directly—these scripts handle everything.
CPU Job Example
~/bin/submit_cpu_job.sh train_cpu.py
GPU Job Example
~/bin/submit_gpu_job.sh train_gpu.py
Where Job Output Goes
When you run a job using the wrapper script, a slurm_jobs directory is created automatically (if
it does not already exist). SLURM output and error logs are stored there:
- Standard output:
.outfiles - Errors:
.errfiles
The wrapper script will print the log file path after submission.
Common Commands
Use these commands in your SSH session to monitor usage and jobs:
# List files and disk usage
ls -lh
du -sh .

# Check running and queued jobs
squeue -u "$USER"

# View job details (replace <JOB_ID>)
scontrol show job <JOB_ID>

# View SLURM output logs (replace <JOB_NAME> and <JOB_ID>)
cat slurm_jobs/slurm-<JOB_NAME>-<JOB_ID>.out

# View SLURM error logs (replace <JOB_NAME> and <JOB_ID>)
cat slurm_jobs/slurm-<JOB_NAME>-<JOB_ID>.err
Example Workflows
Example 1: CPU Job (Data Preprocessing)
- Upload your dataset to
/data/<your-username>/project1/. - Start a CPU job using the wrapper script:
~/bin/submit_cpu_job.sh preprocess.py --input /data/$USER/project1/raw.csv --output /data/$USER/project1/clean.csv
- Monitor job status:
squeue -u "$USER"
- Check results in
/data/$USER/project1/.
Example 2: GPU Job (Model Training)
- Upload your training data to
/data/<your-username>/project2/. - Start a GPU job using the wrapper script:
~/bin/submit_gpu_job.sh train.py --data /data/$USER/project2 --epochs 50
- Monitor job status:
squeue -u "$USER"
- Review the output log file and results in
/data/$USER/project2/.
Troubleshooting & Tips
Common Error Cases
- "Permission denied" when writing to
/data: You may be in the wrong directory. Use your assigned path under/data/$USER/. - Job stays in
PENDING: The cluster may be busy or your request exceeds available resources. Try fewer resources or a shorter time limit. - Job fails quickly: Check the SLURM output log for errors, missing files, or environment issues.
How to Check SLURM Output and Error Logs
# Replace with your actual output file name
cat slurm_jobs/slurm-<JOB_NAME>-<JOB_ID>.out

# Check error logs for failures
cat slurm_jobs/slurm-<JOB_NAME>-<JOB_ID>.err

# If the wrapper script printed a log path, use that file directly
cat /path/to/your/slurm-output.log
Best Practices
- Request only the resources you need.
- Use
/data/$USER/for project storage and clean up unused files. - Start with small test jobs before launching large runs.
- Keep your job commands reproducible (store scripts in your project folder).